How to Compress Images Without Losing Quality
Learn the best ways to reduce image file sizes while keeping visual quality. Perfect for websites, email, and storage.
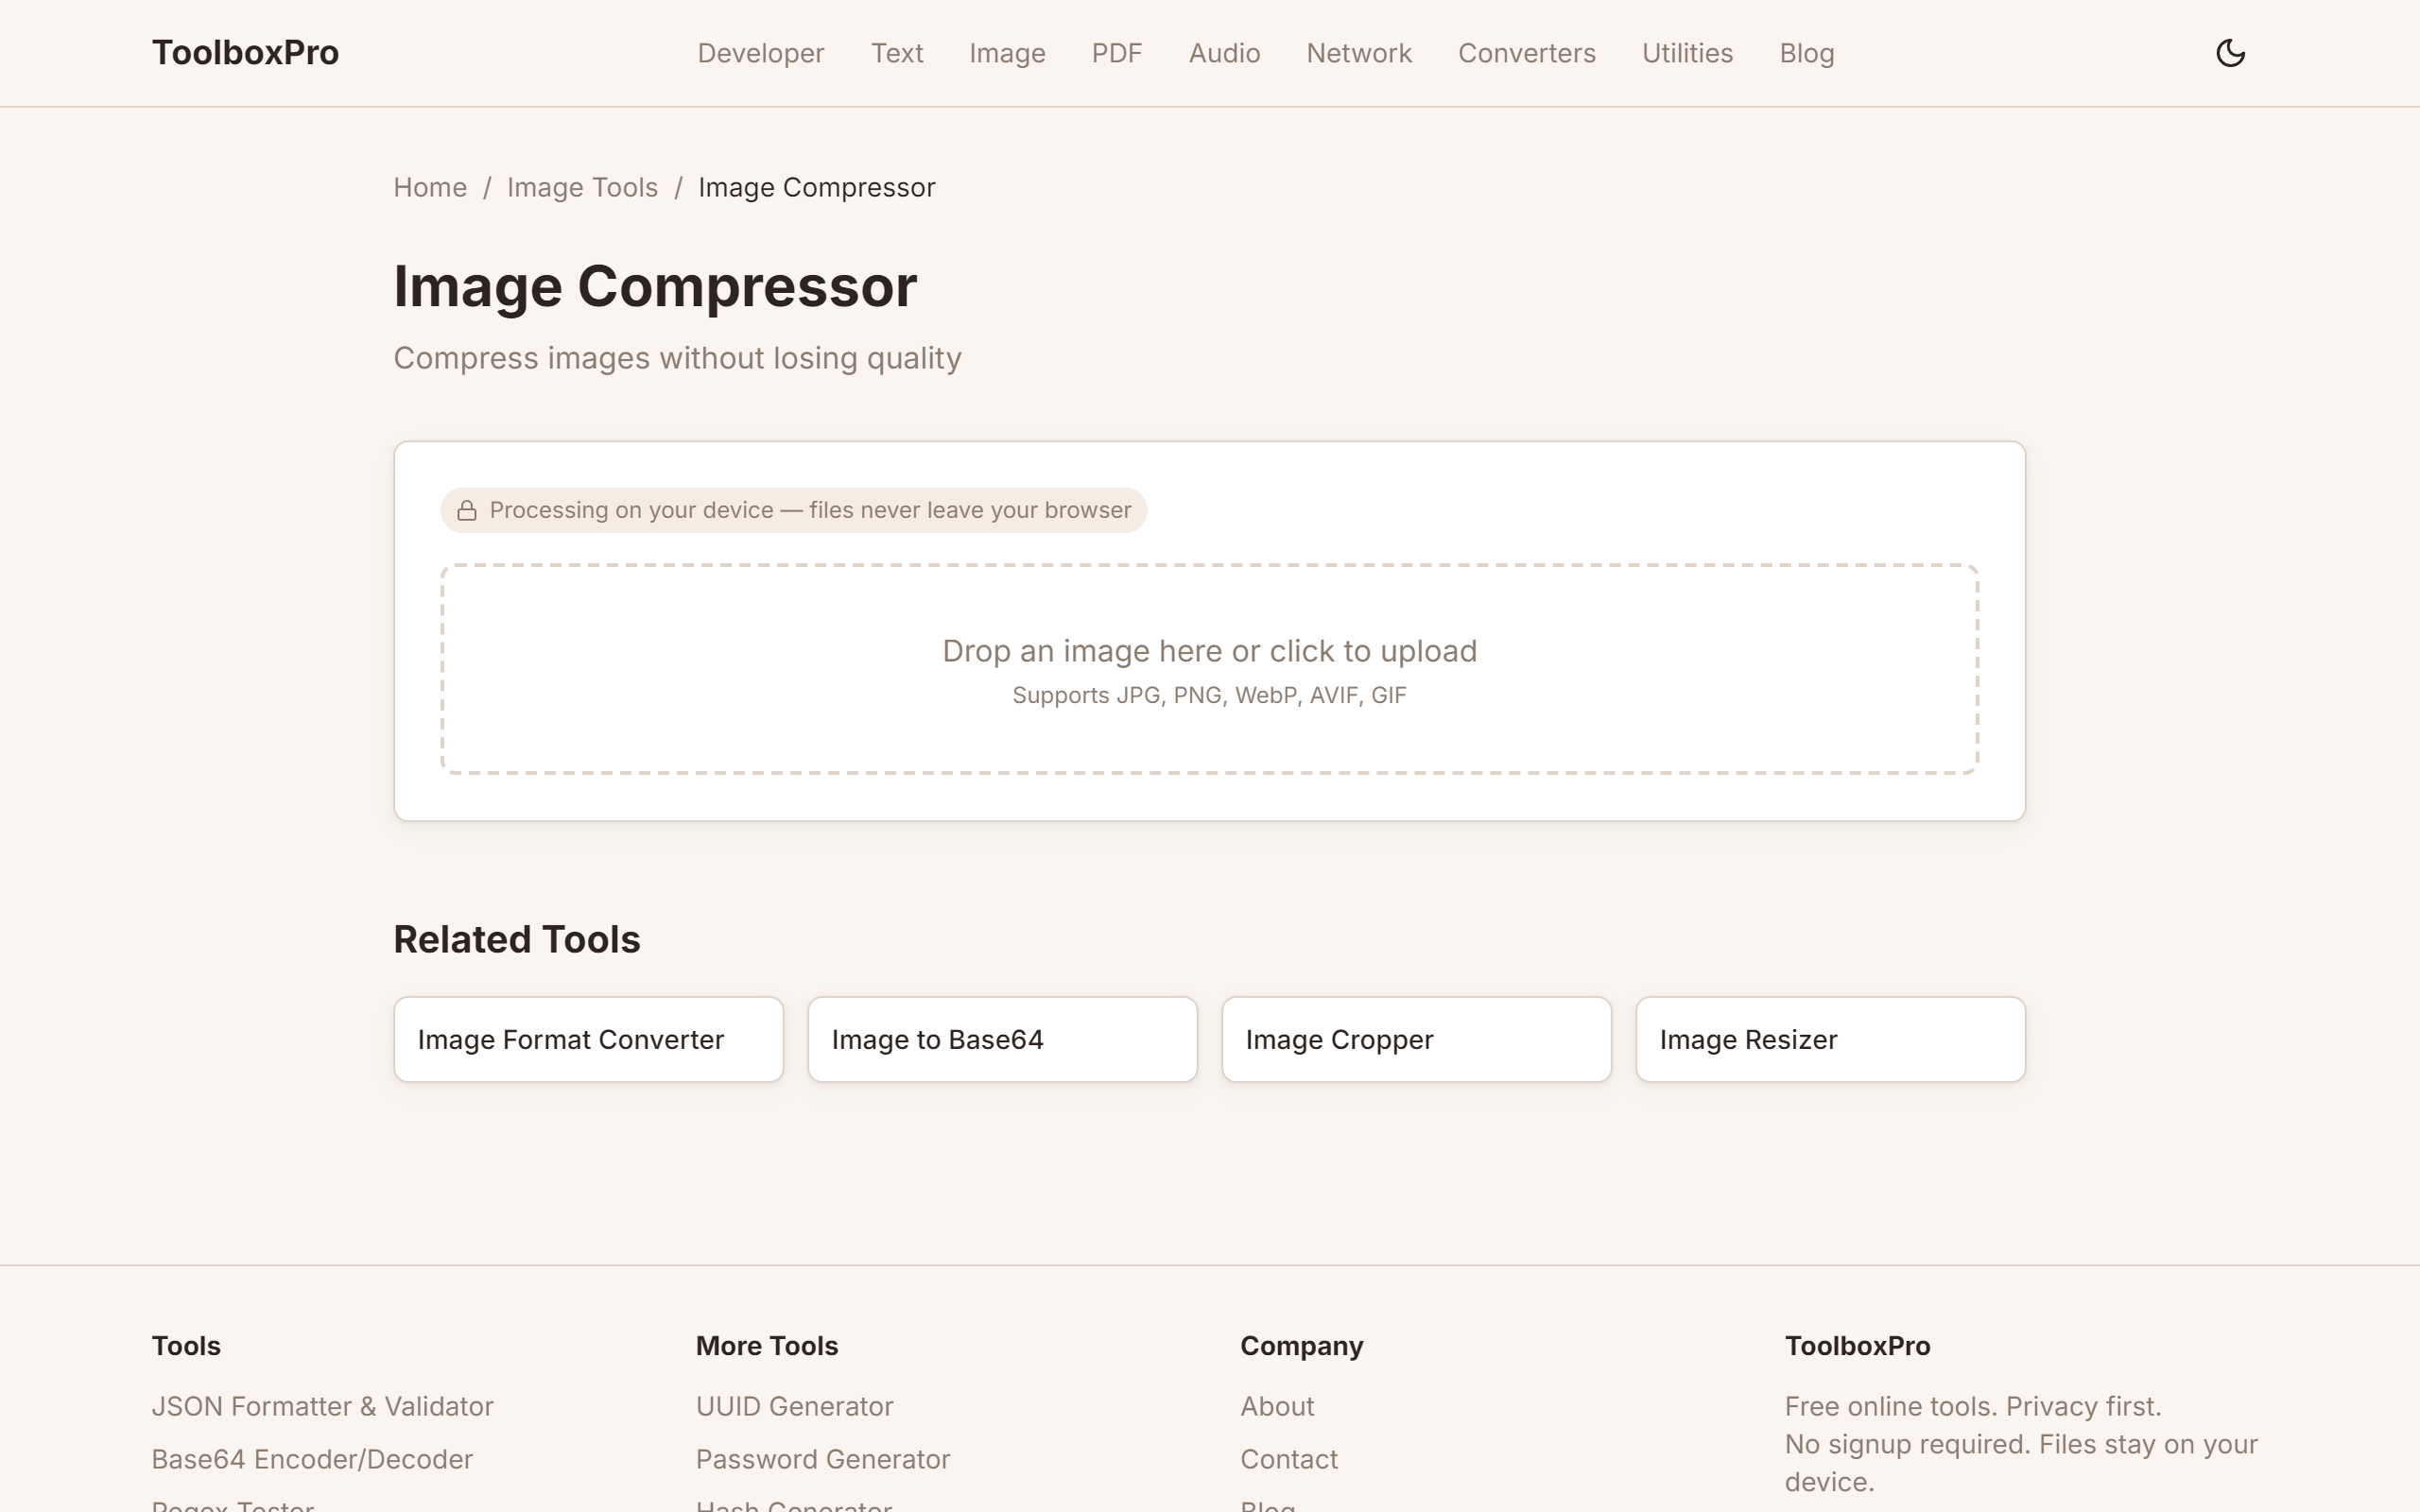
Image Compression: Lossy vs. Lossless — A Complete Guide
Images make up over 60% of the average web page's weight. Every kilobyte you save translates to faster page loads, lower bandwidth costs, and better user experience — especially on mobile devices with limited data plans. But image compression isn't just about making files smaller; it's about striking the right balance between file size and visual quality. This guide covers the fundamental trade-offs between lossy and lossless compression, helps you choose the right format for every scenario, and shares real-world optimization techniques you can apply today.
Lossy vs. Lossless Compression: The Core Trade-Off
The fundamental distinction in image compression comes down to one question: can you reconstruct the original data exactly?
Lossless compression reduces file size without discarding any image data. When you decompress a losslessly compressed image, you get back every single pixel exactly as it was. Formats like PNG, GIF, and WebP (in lossless mode) use techniques like run-length encoding, Huffman coding, and DEFLATE to find and eliminate redundancy without any quality loss.
Lossy compression achieves much higher compression ratios by permanently discarding information that the human eye is less likely to notice. JPEG, WebP (lossy mode), and AVIF exploit limitations in human vision — for example, we're more sensitive to changes in brightness than color, and we don't notice fine details in high-frequency image regions as much. By simplifying or discarding this less-important data, lossy formats can shrink files to 10-20% of their original size while appearing nearly identical to the viewer.
| Feature | Lossless (PNG) | Lossy (JPEG) |
|---|---|---|
| Quality preserved | 100% (no data lost) | Reduced (data discarded) |
| Compression ratio | 2:1 to 5:1 | 10:1 to 50:1 |
| Best for | Screenshots, diagrams, text, logos | Photographs, gradients, complex scenes |
| Transparency support | Yes (alpha channel) | No (use PNG or WebP) |
| Typical file size | Medium | Small |
| Re-editable? | Yes, no generational loss | No, quality degrades on re-save |
You can test the visual difference between compression levels yourself at /tools/image-compressor — upload any image and see side-by-side comparisons at different quality settings.
Image Format Guide: Choosing the Right Tool for the Job
Not all images are created equal, and neither are formats. Here's when to use each major format:
JPEG (.jpg, .jpeg) — The universal standard for photographs and complex images. JPEG's strength is efficiency: a well-optimized JPEG can be 80-90% smaller than the original without visible quality loss. Its weaknesses include no transparency support, poor performance with sharp edges and text (visible artifacts), and generational quality loss when re-saved. Use JPEG for photos, product images, and any image with smooth color transitions.
PNG (.png) — The go-to for screenshots, diagrams, logos, and anything requiring sharp edges or transparency. PNG offers lossless compression with full alpha channel support, making it ideal for UI elements and graphics with text. The trade-off: file sizes are typically much larger than JPEG for photographic content. Use PNG when pixel-perfect accuracy matters, not for everyday photos.
WebP (.webp) — Google's modern format that supports both lossy and lossless compression, along with transparency and animation. Lossy WebP typically achieves 25-35% smaller files than equivalent-quality JPEGs, while lossless WebP is 20-25% smaller than PNG. WebP is now supported in all major browsers. WebP is the best default choice for new web projects — its combination of features and compression efficiency is unmatched for general use.
AVIF (.avif) — The newest contender, based on the AV1 video codec. AVIF achieves 50% smaller files than JPEG at the same quality and supports HDR, wide color gamut, and transparency. Browser support is growing (Chrome, Firefox, Opera) but not universal (Safari support is still evolving). Use AVIF when maximum compression is critical and you can provide fallbacks.
| Format | Compression | Transparency | Animation | Browser Support | Best File Size |
|---|---|---|---|---|---|
| JPEG | Lossy | No | No | Universal | Good |
| PNG | Lossless | Yes | No | Universal | Fair |
| GIF | Lossless | Yes | Yes | Universal | Poor |
| WebP | Both | Yes | Yes | 96%+ | Better |
| AVIF | Lossy | Yes | No | 80%+ | Best |
Real-World Optimization Strategies
Theory is useful, but here's what actually works in production. These techniques build on each other — apply them in order for maximum impact.
1. Choose the right format first. This single decision has more impact than any other optimization. Run a library like \squoosh\ or \sharp\ to compare JPEG, WebP, and AVIF outputs for each image at equivalent visual quality. For a hero image on a product page, the difference between an unoptimized PNG (800 KB) and an optimized WebP (45 KB) is a 17x reduction.
2. Set optimal quality levels. Don't blindly use "80" for JPEG quality or "100" for everything. For JPEG, quality 70-80 is typically visually lossless for photographs. For WebP, quality 75-85 is the sweet spot. Anything above 95 is usually wasteful. Use a tool like /tools/image-compressor to find the lowest quality setting where you can't see the difference.
3. Resize to display dimensions. Serving a 4000×3000 pixel image for a 300×200 pixel thumbnail wastes enormous bandwidth. Always downsample images to their display size (or 2x for Retina displays). This is often more impactful than compression itself — a properly sized image can be 95% smaller than the original full-resolution version.
4. Use responsive images. The \
5. Strip metadata. A photo from a modern smartphone can carry 5-10 MB of EXIF metadata (GPS coordinates, camera model, shooting parameters). Stripping this metadata is a free size reduction and also protects user privacy.
6. Automate everything. Manual image optimization doesn't scale. Integrate compression into your build pipeline with tools like \`imagemagick\
Try it yourself with our free online tool:
Try How to Compress Images Without Losing Quality →